Publishing Your Plugin
Sponge’s official plugin / mod repository, Ore, is a free and open-source project that anyone may publish their Sponge plugins or Forge mods on.
Packaging Your Plugin
Ore requires any projects to be packaged with a mcmod.info descriptor file in the top-level of your JAR file. This
file is used to automatically infer some important details about your project to make the upload process easier. Ore
will reject your plugin if this file is missing from the JAR. Luckily, Sponge API has a built in annotation processor
that creates this file for you automatically, on compile, using the @Plugin annotation that you have likely
already created in your plugin’s main class.
Note
For more information on creating and compiling your first plugin, see Main Plugin Class
For reference, here is a sample mcmod.info file:
[
    {
        "modid": "my-plugin",
        "name": "MyPlugin",
        "version": "1.0.0",
        "description": "My first plugin!",
        "url": "https://spongepowered.org",
        "authorList": [
            "windy",
            "Zidane",
            "gabizou"
        ],
        "requiredMods": [
            "[email protected]",
            "[email protected]",
            "[email protected]"
        ],
        "dependencies": [
            "[email protected]",
            "[email protected]",
            "[email protected]"
        ]
    }
]
At the very least, each Ore project must have the modid, name and, version fields completed.
Signing your Plugin
Due to security concerns, Ore requires each plugin file (ZIP or JAR) to be uploaded with a detached Pretty Good Privacy (PGP) signature for a public key that is associated with the email that you signed up to Sponge with. This digital signature ensures that any file uploaded by a user was intended to be uploaded by the actual account holder.
Note
A digital signature certifies and timestamps a document. If the document is subsequently modified in any way, a verification of the signature will fail. A digital signature can serve the same purpose as a hand-written signature with the additional benefit of being tamper-resistant. The GnuPG source distribution, for example, is signed so that users can verify that the source code has not been modified since it was packaged.
In order to sign your plugin, you must first download a PGP compliant software program, such as GnuPG (GPG). GPG is available for all major platforms and the binaries can be downloaded here.
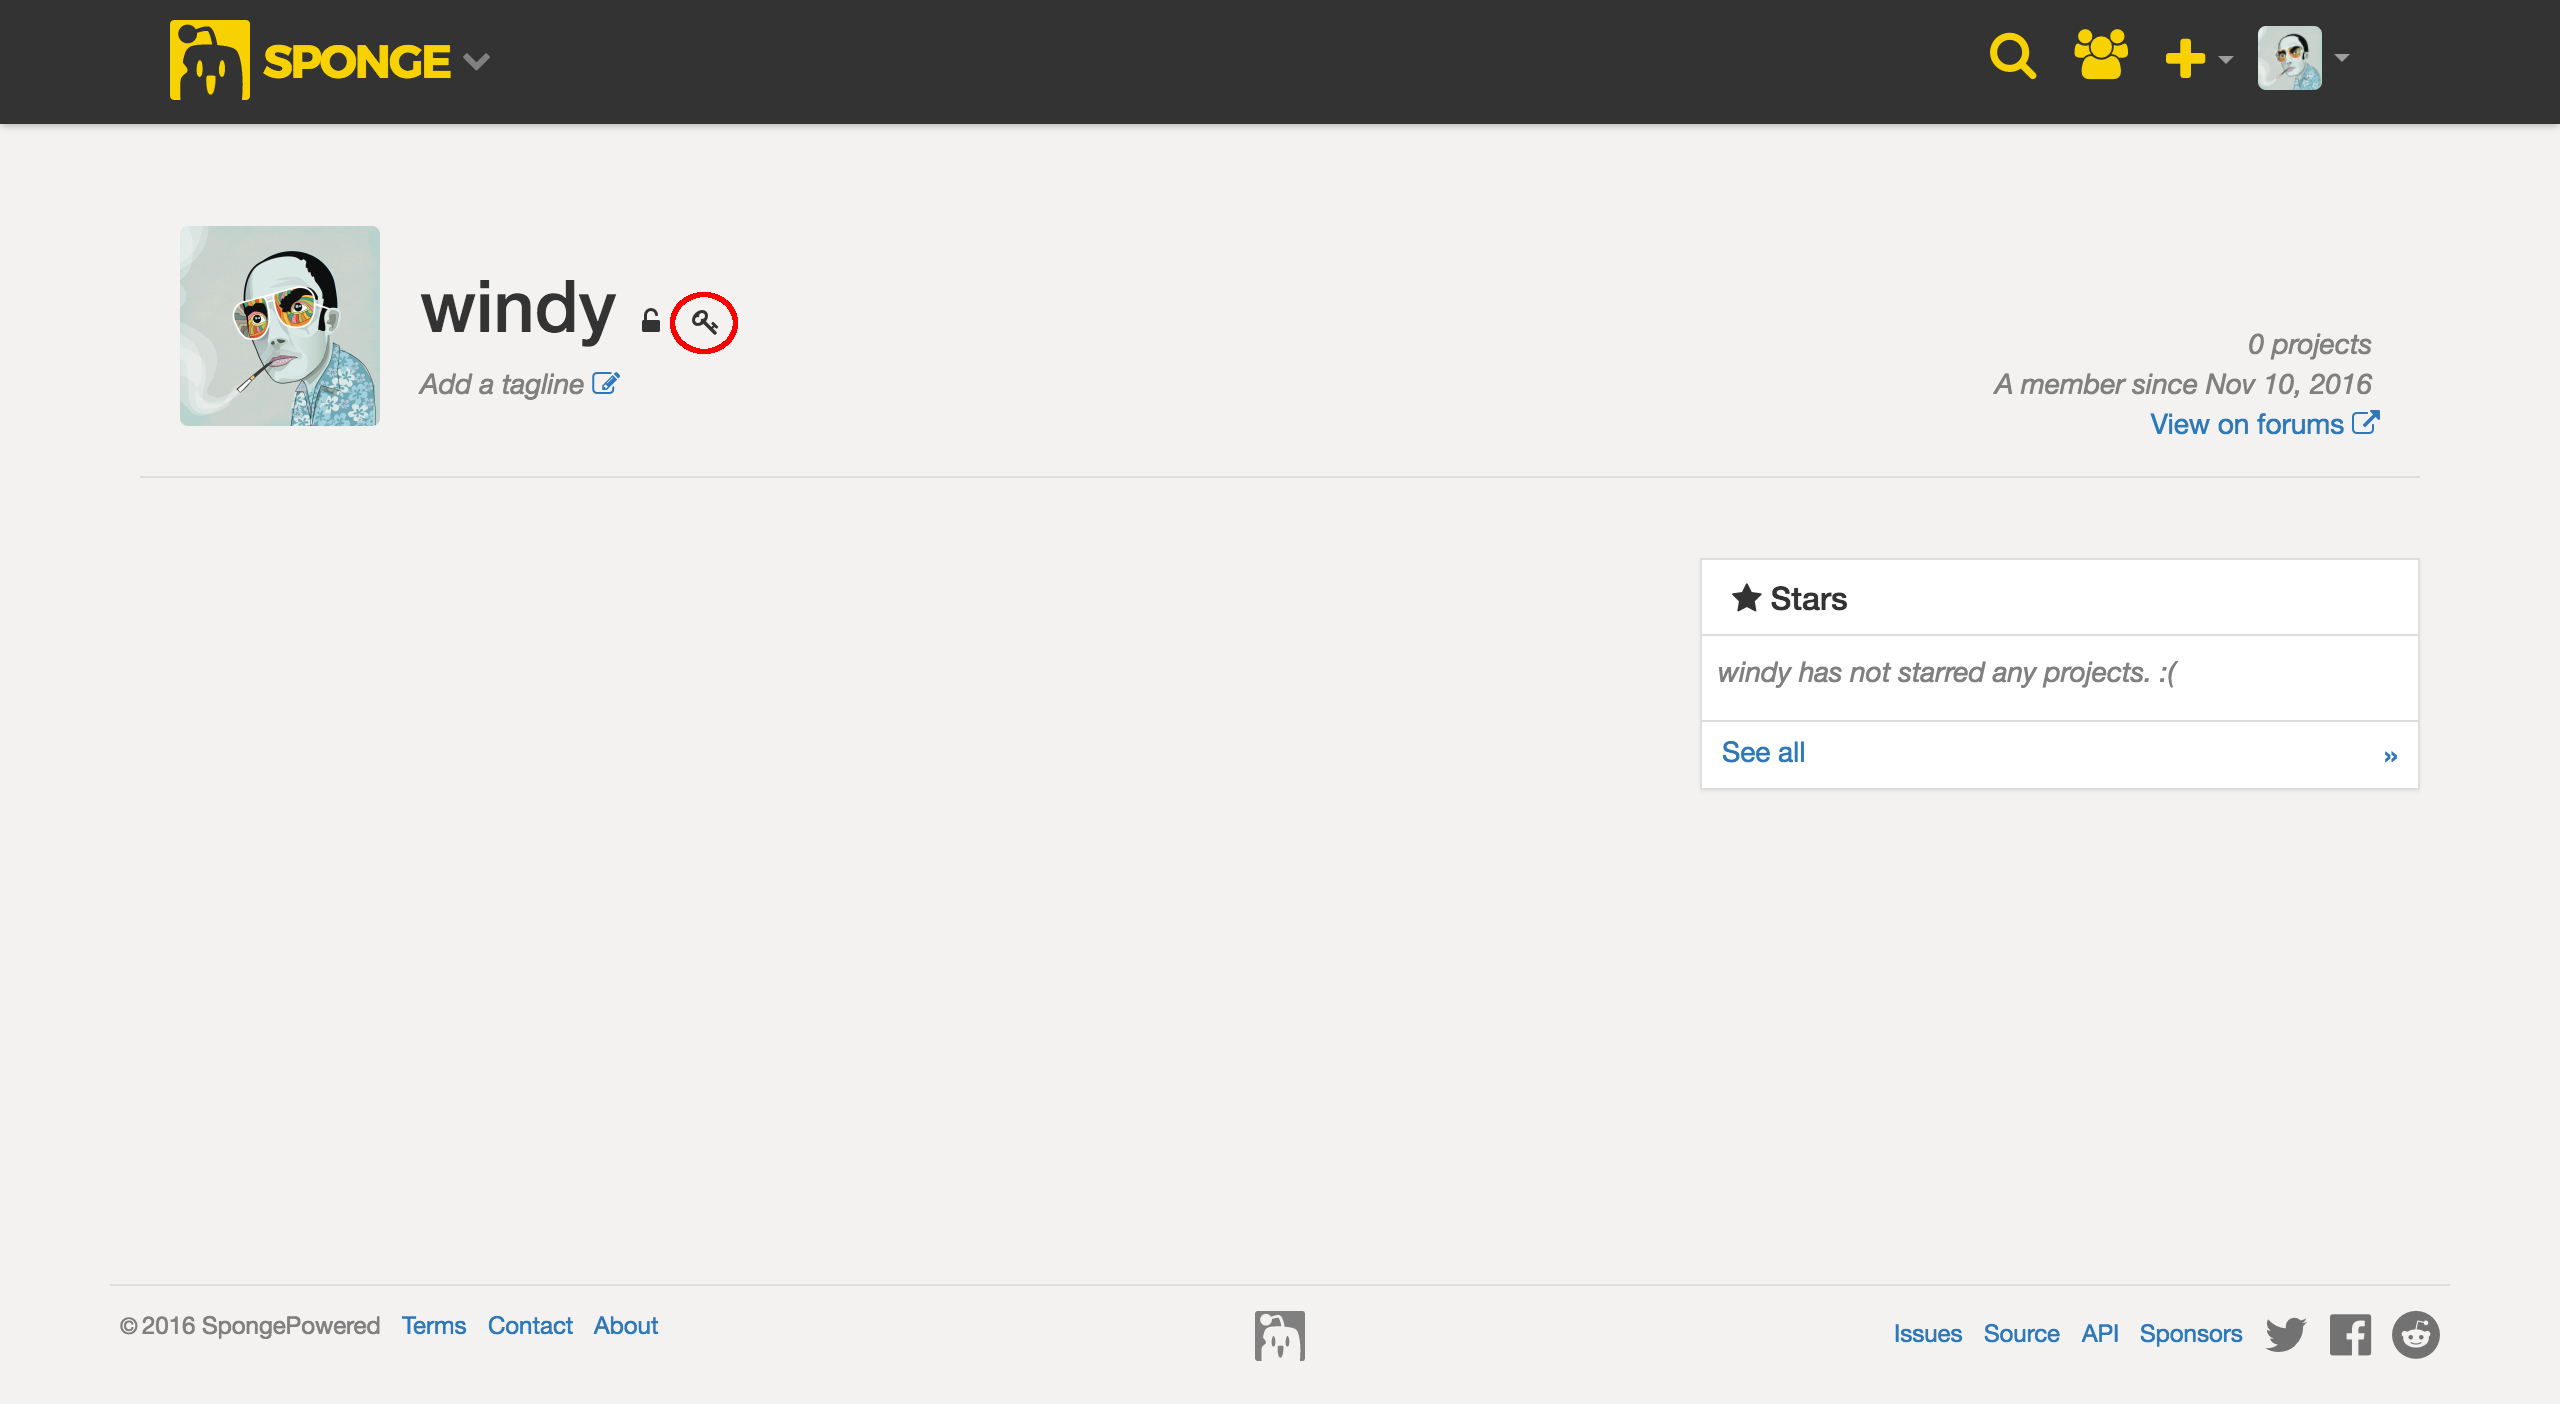
Once you have installed GPG and have generated your first public key, you will need to add the key to your account. To do this, you can navigate to your profile and click the key symbol next to your avatar.
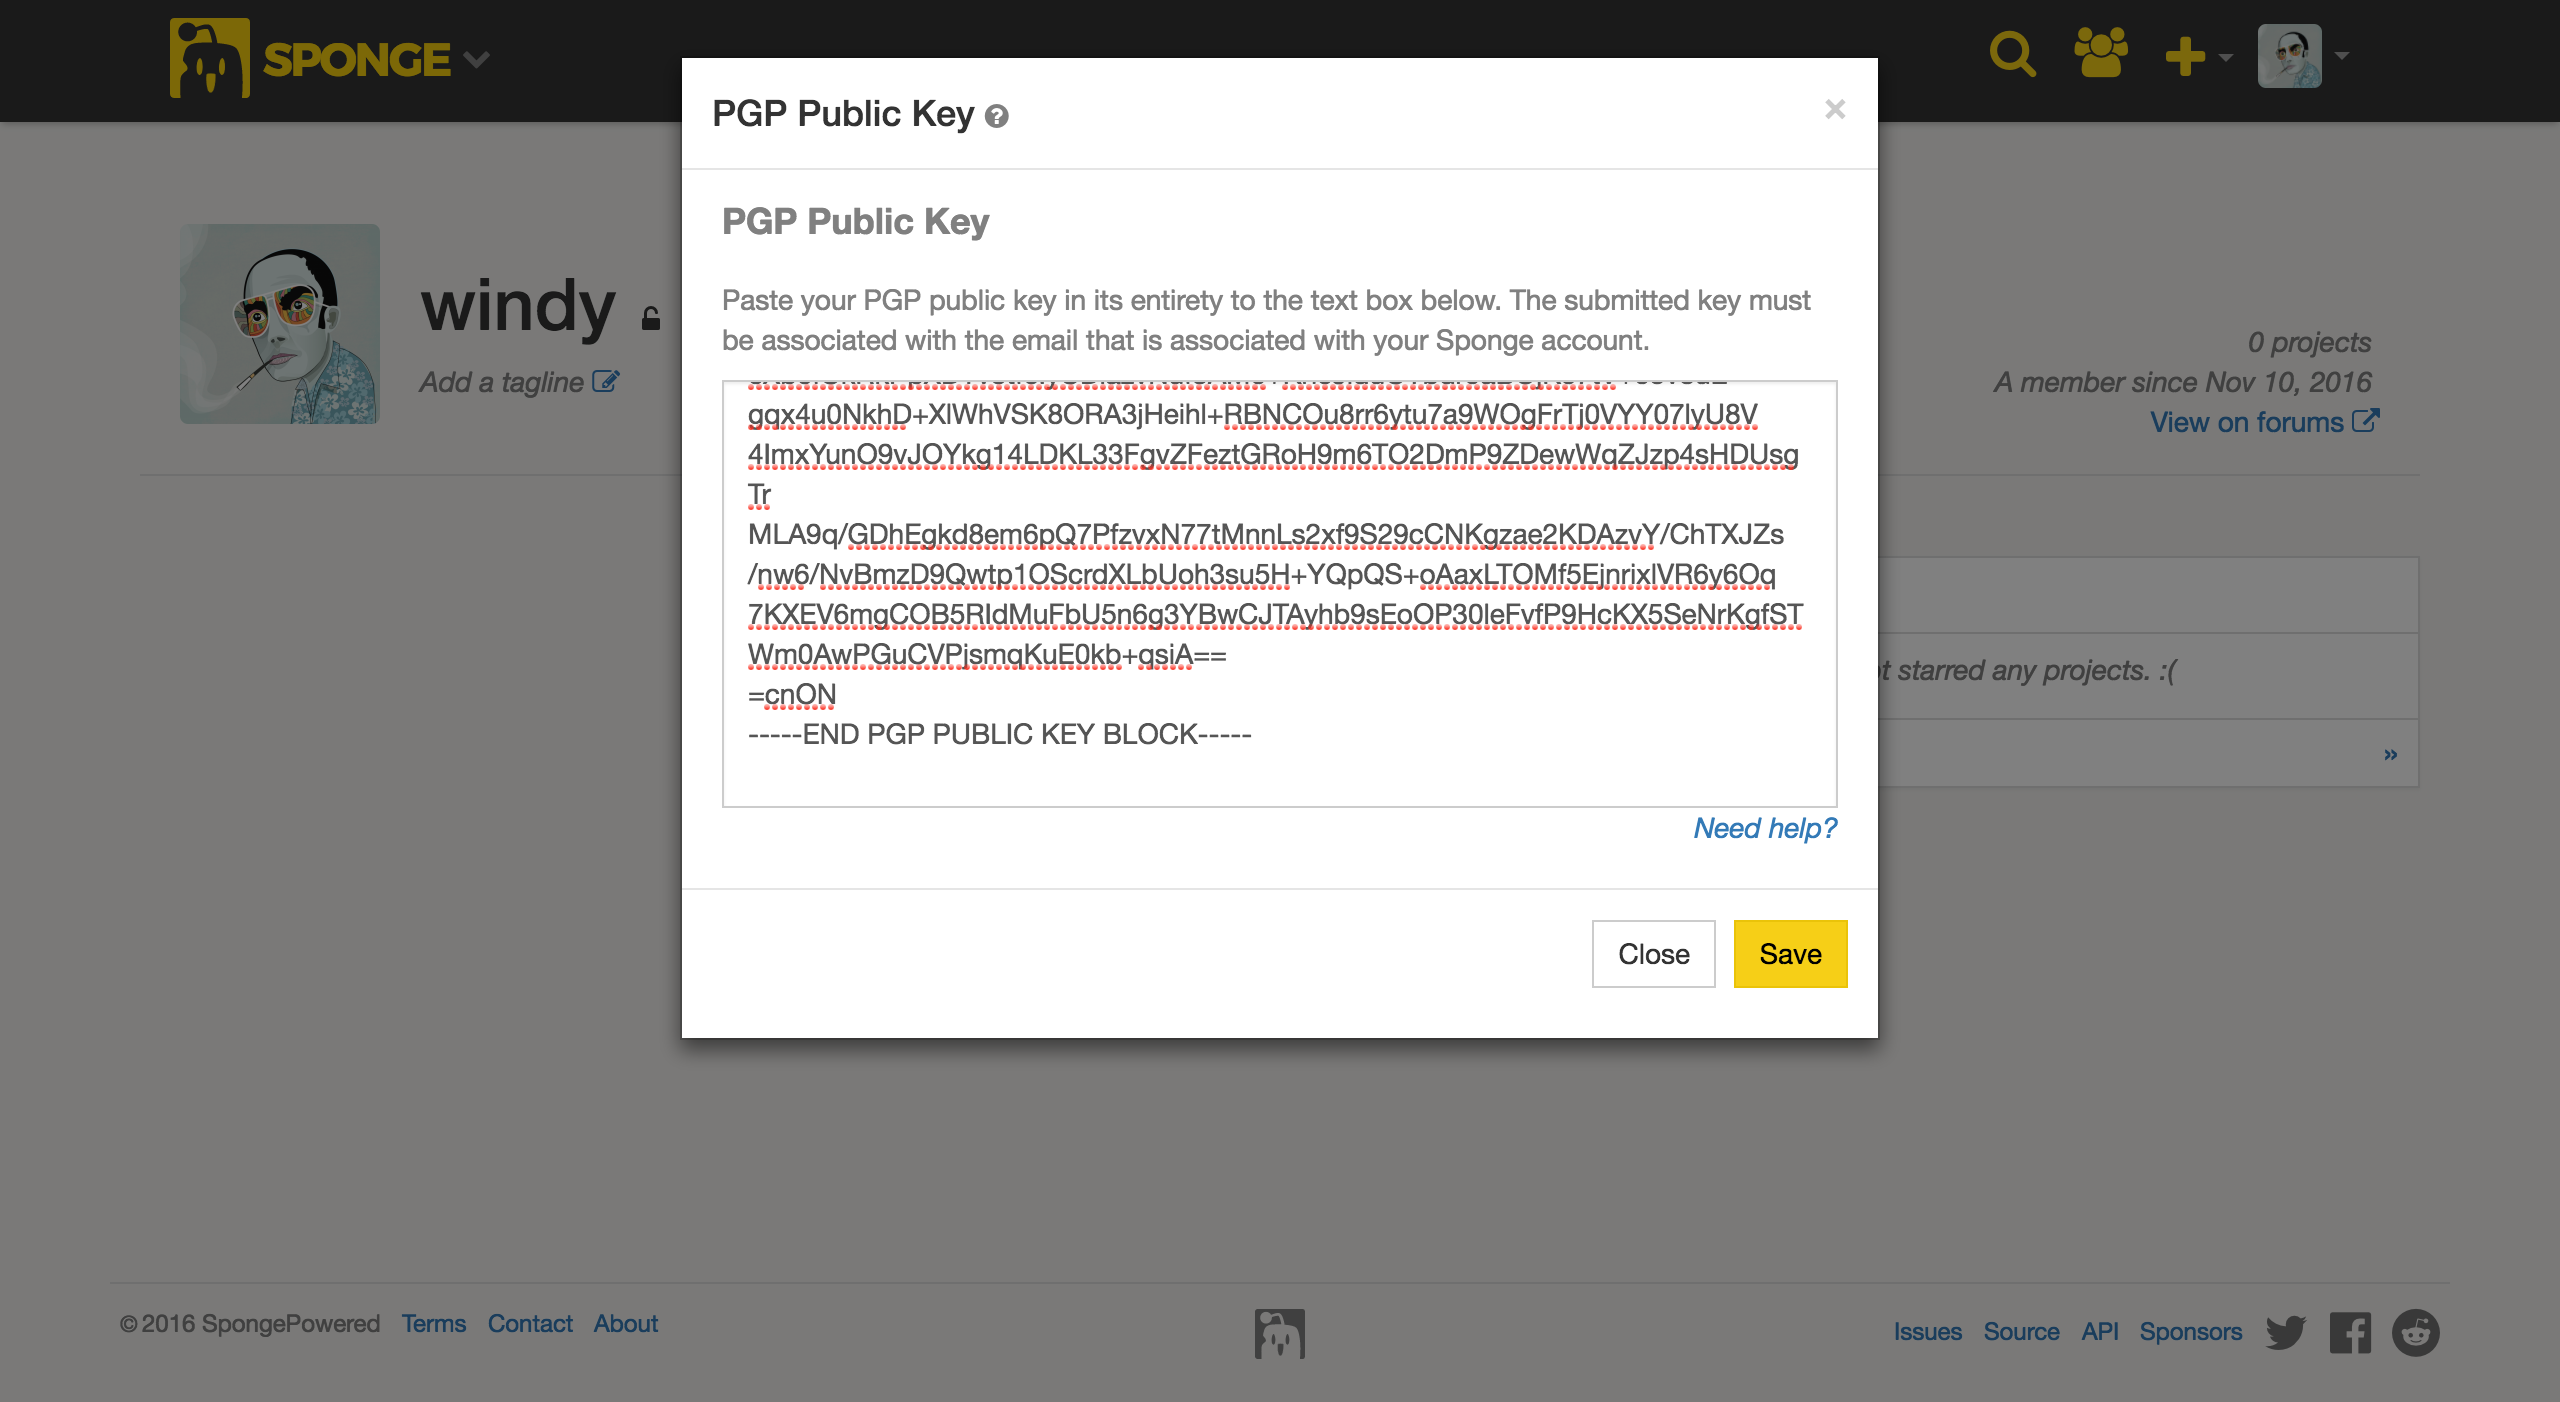
You will then be prompted to enter your key into a text box. You must be sure to enter the key in it’s entirety or signature validation will fail.
Finally, you must sign your built plugin with your private key of the public key you uploaded. You only need to sign the file that you are uploading: for instance, if you are uploading a ZIP with your plugin JAR included, only the ZIP needs to (and should only be) signed. The easiest way to sign the file you intend to upload is with the following GPG command.
gpg --output myplugin-1.0.0.jar.sig --detach-sig myplugin-1.0.0.jar
Note
If you’re using build manager such as Gradle or Maven, there are plugins you can apply to your build script that can sign built artifacts and automate this laborious process for you. For more information, please refer to Gradle’s documentation or Maven’s documentation.
Uploading Your Plugin
Once your plugin’s JAR file is packaged with an mcmod.info descriptor file in the top-level and signed with your
PGP private key, your plugin is ready for uploading! To create a project on Ore, you must have an active Sponge
account. Hitting the “Sign up” button in the top-right corner will take you to the appropriate page to create one. If
you already have an account, just hit the “Log in” button in the top-right corner to log into Ore.
Once logged in, navigate to your avatar and select the “New” option in the drop-down menu that appears, or just press the “C” key.
While uploading, the creation wizard will first ask for your main upload file and then for your detached signature.
Setting Up Your Project on Ore
After uploading your plugin, you will be presented with some settings to configure your project however you like. Don’t worry, all of these can be changed later in the settings panel. After setting up your project you will be able to invite Sponge users to be a part of your project. Any user that is registered on the forums can be invited to a project even if they have never logged onto Ore. Upon creation of your project, the users you have invited will receive a notification and will be able to either accept or decline your invitation. Project members will not be visible to the public until the invitation has been accepted.
There are currently three groups you may assign to project members: Developer, Editor, and Support. The user who created the project will be assigned the Owner which has unrestricted access to the project. Here is a quick rundown of what each group can do within your project.
Owner
There is a maximum of one owner to a project, is non-transferable (for now), and is the only group that may assign roles to other members.
Developers
Developers may create/edit release channels, pages and create/edit versions.
Editor
Editors may edit pages.
Support
Support cannot do anything, merely a way of showing that the member is a part of the project.


